Okera UI Basics
The Okera UI is the browser-based interface used for:
- Viewing your account information
- Finding and using Okera databases, datasets, and views
- Classifying your data
- Reviewing and managing permissions on any dataset
For information about advanced administrator features, see UI Admin Settings. For information about SaaS tenant management, see SaaS Tenant Management.
Accessing the UI
To access the Okera UI, browse to the URL provided by your Okera administrator.
Supported Browsers
The Okera UI is supported on the latest versions of the following browsers:
- Google Chrome
- Mozilla Firefox
- Microsoft Edge
- Apple Safari
Logging In
Use the Login screen to access the UI. The Login screen is configured to provide login options depending on your cluster configuration. These options include:
-
Log in with credentials
Select this option to authenticate using LDAP credentials. You can then enter your username and password. See Authenticate Using Lightweight Directory Access Protocol (LDAP).
-
Log in with token
Select this option to authenticate with JSON Web Tokens (JWTs). You will be prompted for the access token. See Authenticate Using JSON Web Tokens.
-
Log in with OAuth
Select this option to authenticate with OAuth. See Authenticate Using Open Authorization (OAuth).
-
Log in with SAML
Select this option to authenticate with SAML. See Authenticate Using Security Access Markup Language (SAML).
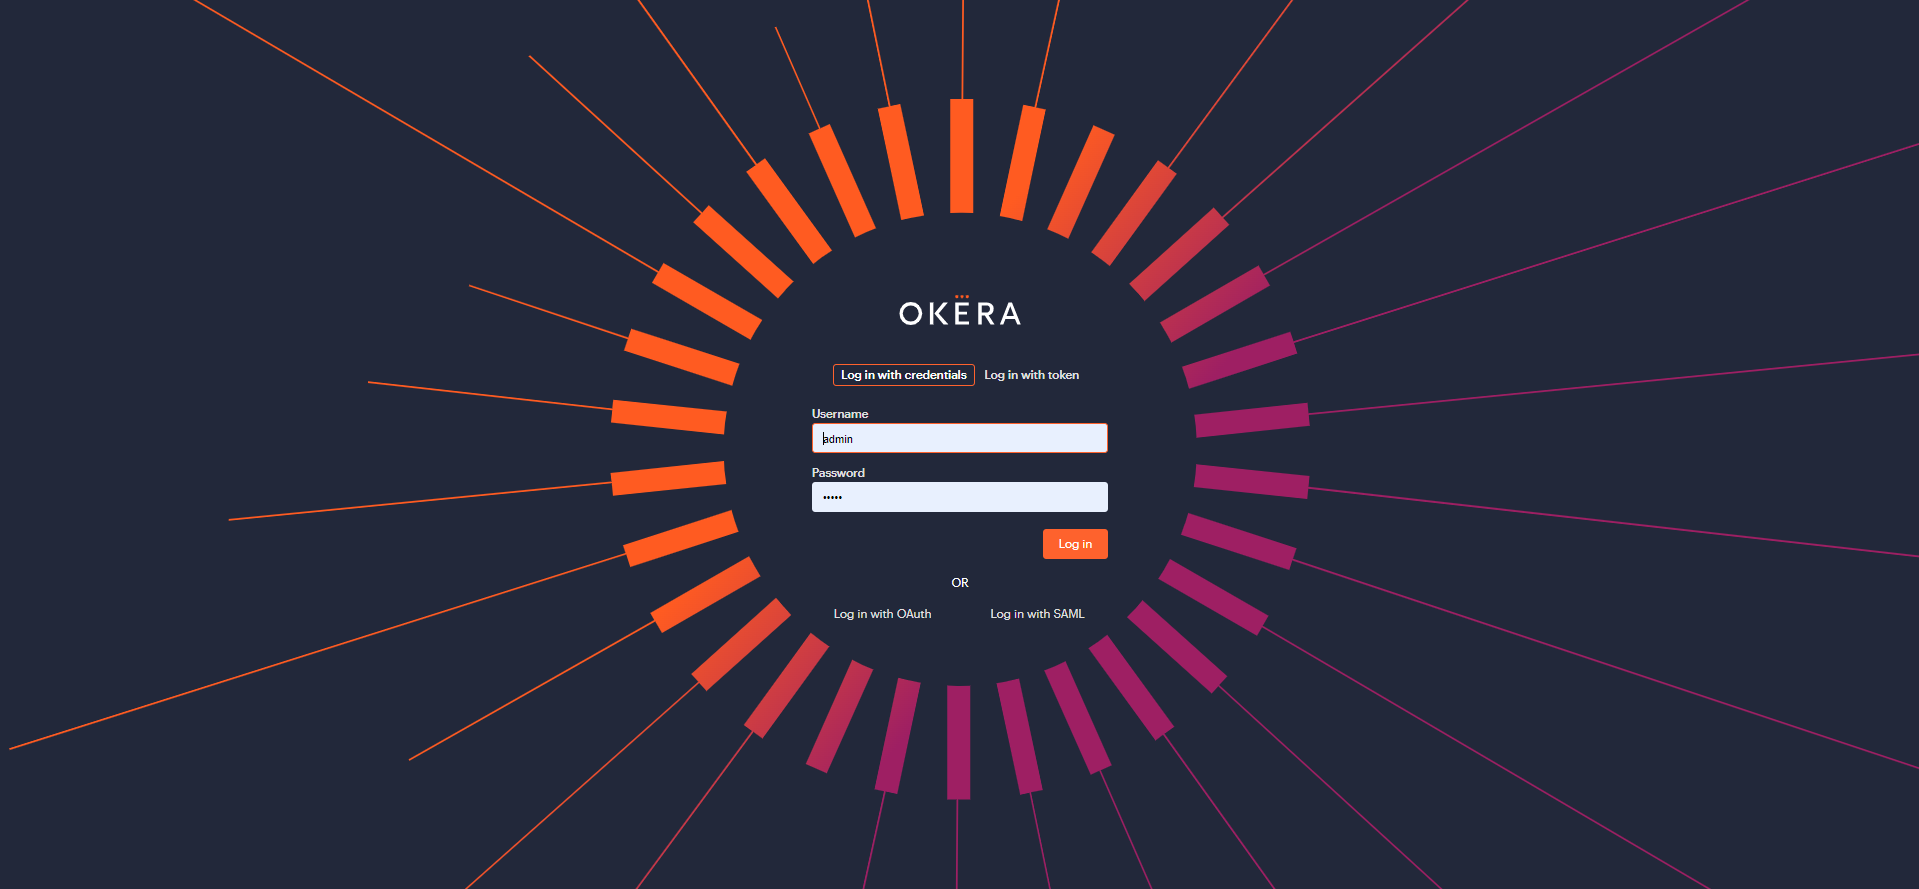
Example login screen with Active Directory and Token login
A Note on SSL
If Okera is configured to run with SSL enabled using a self-signed certificate, the SSL certificate must be decrypted on your local system for the UI to be accessible to your browser. If, upon navigating to the UI, the browser warns that the site is not trusted, the SSL certificate may need to be installed.
Please note that even if you bypass your browser's certificate warning, the Okera UI will not work, with the Login screen reporting this message:
Could not contact server. Check your network connection and try again later.
If you see this message, it could mean you need to install the SSL certificate. Contact your Okera administrator.
Note: Okera does not support SSL termination on a load balancer.
Using the UI
After you log into the Okera UI, an Okera Home page appears. Depending on the roles and permissions assigned your Okera username, you will see either the Call-to-Action Home page or the User Profile Home page. In addition, the options available to you vary, based on your roles and permissions. Use the menu options in the left-side menu to access other areas of the UI. See The Okera Call-to-Action Home Page and The Okera User Profile Home Page.
Logging Out
To logout, select your username at the bottom of the navigation menu and select Logout.
Warning
Your credentials are saved in the browser until either your token expires, or you explicitly log out. Be aware of this security issue when sharing access to your computer.
Block Use of the UI on Mobile Devices and Tablets
You can block access to the Okera UI on mobile devices and tablets. Use the configuration parameter, BLOCK_WEB_UI_FOR_MOBILE_CLIENTS, to control this behavior. Valid values for this parameter are true (the UI is blocked on mobile devices) and false (the UI is not blocked on mobile devices). The default is false.