Installing Okera via AWS Marketplace AMI
This document will guide you through installing Okera via AWS Marketplace AMI.
Prerequisites
Before you begin the install via AMI please ensure you have the required prerequisites below:
- Required: Security groups
- Required: IAM role
- Optional: Amazon S3 location to store logs (required for multi-node clusters)
- Optional: RDS instance
Launch via AMI
- Select the Okera (ODAS) Marketplace AMI
- Choose the
t3.2xlargeinstance type and press "Configure Instance Details". - Choose your desired VPC and Subnet (and any other normal EC2 configuration you use).
- Select the IAM role created for the Okera cluster as per the prerequisites section and press "Add Storage".
- Configure the volume to be 120GB in size of type
gp2and press "Add Tags". - Add any tags you need for this instance and press "Configure Security Group".
- Select the Security Group created for the Okera cluster as per the prerequisites section and press "Review and Launch".
- Ensure all the settings are correct and press "Launch".
- The cluster may take 30 mins - 1 hour to boot up with Okera's software fully.
Getting Started with Okera
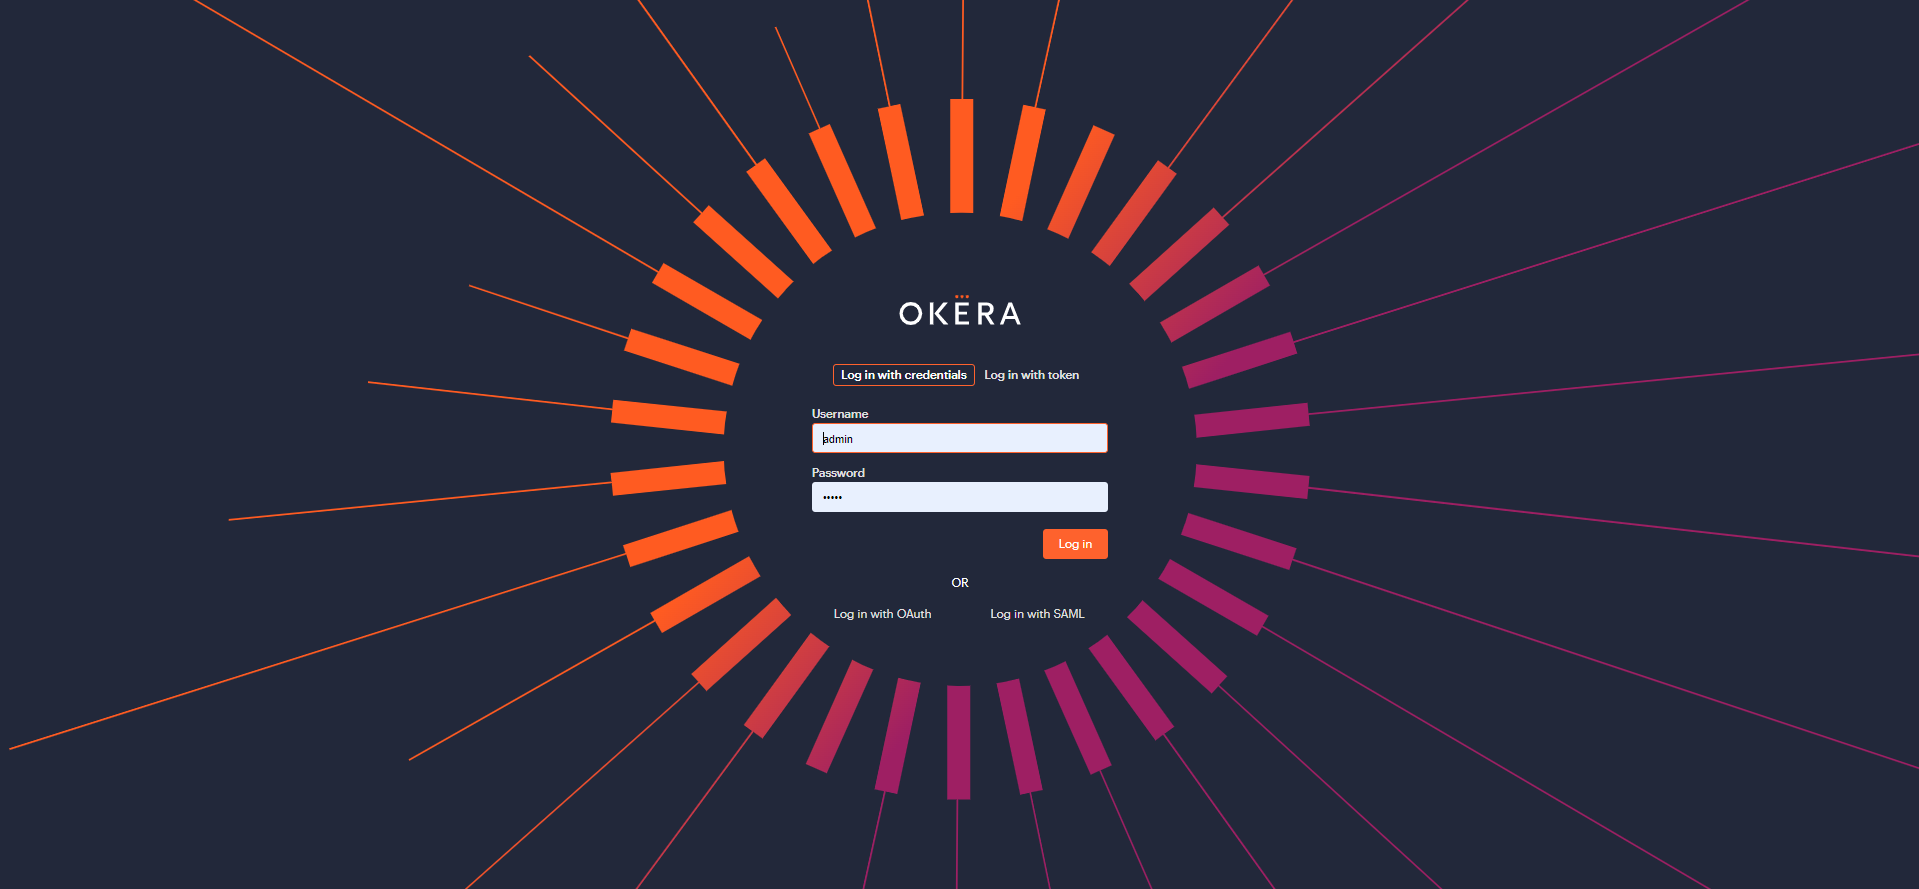
Once the cluster has fully booted, the UI will load at the default port 8083.
Note: If you have installed within the last hour and the UI is not loading, Okera may not be fully booted up, so try again once it has been at least an hour.
Navigate to your cluster's Public or Private IPv4 DNS (depending on how you setup), with port 8083 specified.
e.g http://ip-address.us-west-2.compute.internal:8083/login
The username is okera and the password will be your instance id.
Note: Okera has a default self signed cert that will likely show up a certificate warning in your browser. You will need to click ‘ignore’ to continue to the UI. You can update the certificate later if you organization has a signed certificate.
You can then get started using Okera, either by adding some datasets or just exploring the Web UI.
Once your ready you can also start to customize your cluster configuration.