Create a Tag
You can create tags using the UI or Okera SQL commands. You can also import tags from templates provided by Okera.
Using the UI
To create a new tag using the UI, complete these steps.
-
Select Tags on the UI side menu and then select the
 button. Alternatively, you can select the
  button on the Call-to-Action Home page in the Tags section.
The Create or import tags dialog appears.

-
Select one of the options on the Create or import tags dialog.
-
Select Create a tag to create your own tag. If you select this option, continue with these steps.
-
Select Import from a template to import a tag or set of tags from a tag namespace template provided by Okera. Complete the instructions provided in Import Tags.
-
-
Assuming you selected Create a tag in the previous step, the Create new tag dialog appears.

-
In the Namespace field, select an existing namespace from the drop-down list or create a new one. To create a new one, simply type in the namespace name (up to a maximum of 255 characters) and select the Create
option that appears below the namespace entry box. A namespace acts as a category for grouping similar tags. For example, tags associated with security might be grouped under a namespace called Security. -
After specifying the namespace name, enter the name of your new tag (up to a maximum of 255 characters) in the Tag field and select
 . The new tag appears in your list of existing tags under the selected namespace.
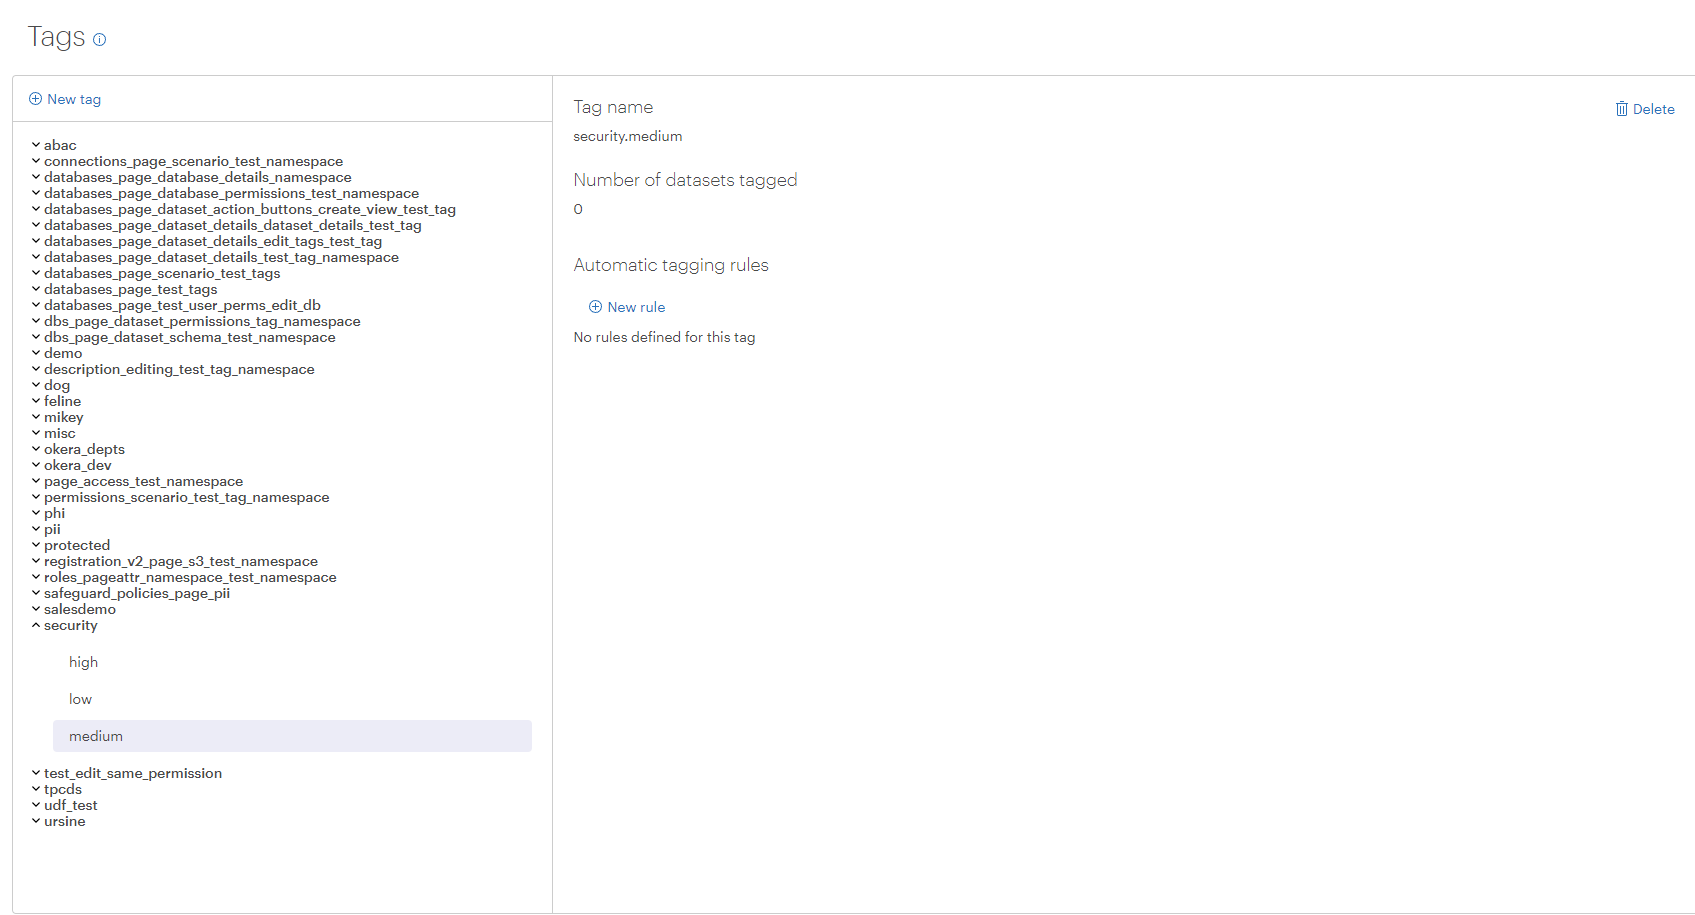
Using Okera SQL Commands
To create a new tag using Okera SQL, access the Workspace page and enter:
CREATE ATTRIBUTE [IF NOT EXISTS] <namespace.tag_name>;
Note: Tags are case-insensitive. This means that if you try to create a tag with capitalization, it will automatically be normalized and stored in lowercase. Case-sensitive tags are not currently supported.