Deploy Okera With CloudFormation
This document guides you through installing Okera using CloudFormation. You will walk through the following steps:
- Deploy a single-node Quickstart cluster.
- Deploy a multi-node Quickstart cluster.
- Deploy a multi-node cluster with custom configuration.
Note: Deploying Okera with CloudFormation is primarily useful for quickstart testing, but not for production environments.
Prerequisites
- Required: Security groups
- Required: IAM role
- Optional: Amazon S3 location to store logs (required for multi-node clusters)
- Optional: RDS instance
Provisioning A Quickstart Single-Node Cluster
As a first step, we will create a single-node cluster that is entirely self-contained, and does not have any external dependencies.
Here is the CloudFormation template we will use (replace <version> with the version you want to use): https://okera-release-uswest.s3.amazonaws.com/<version>/cloudformation/okera-install.cft
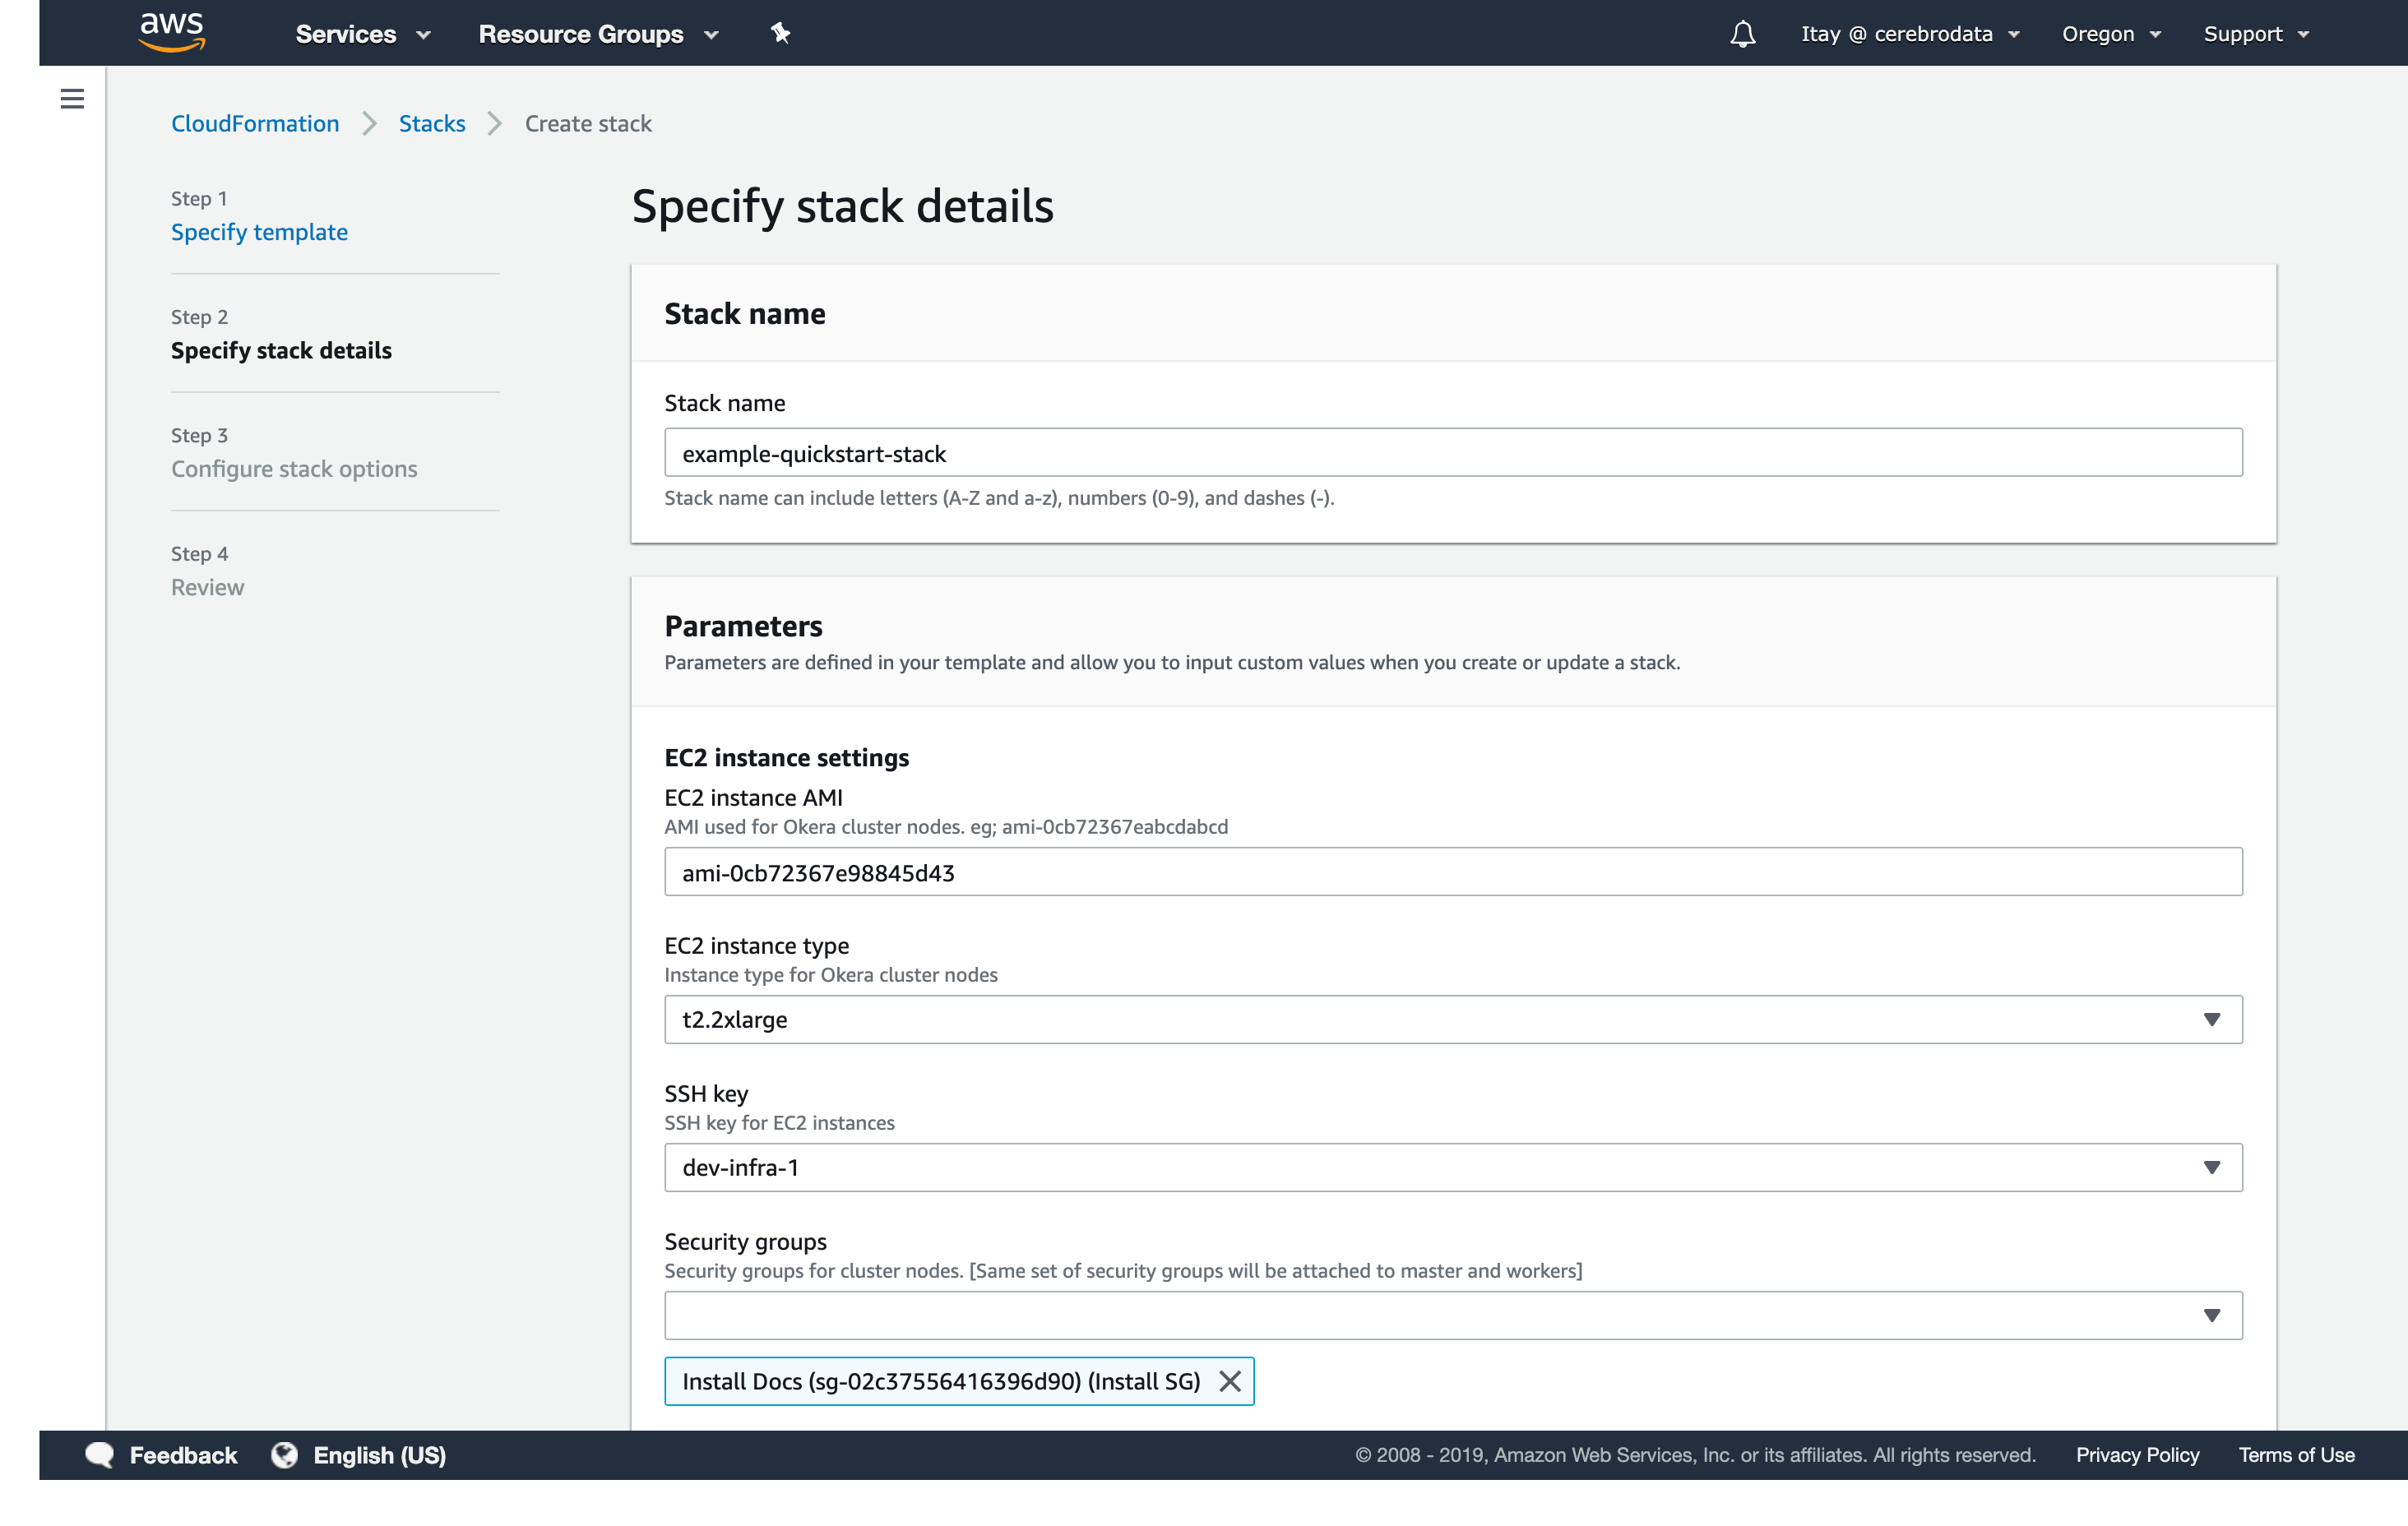
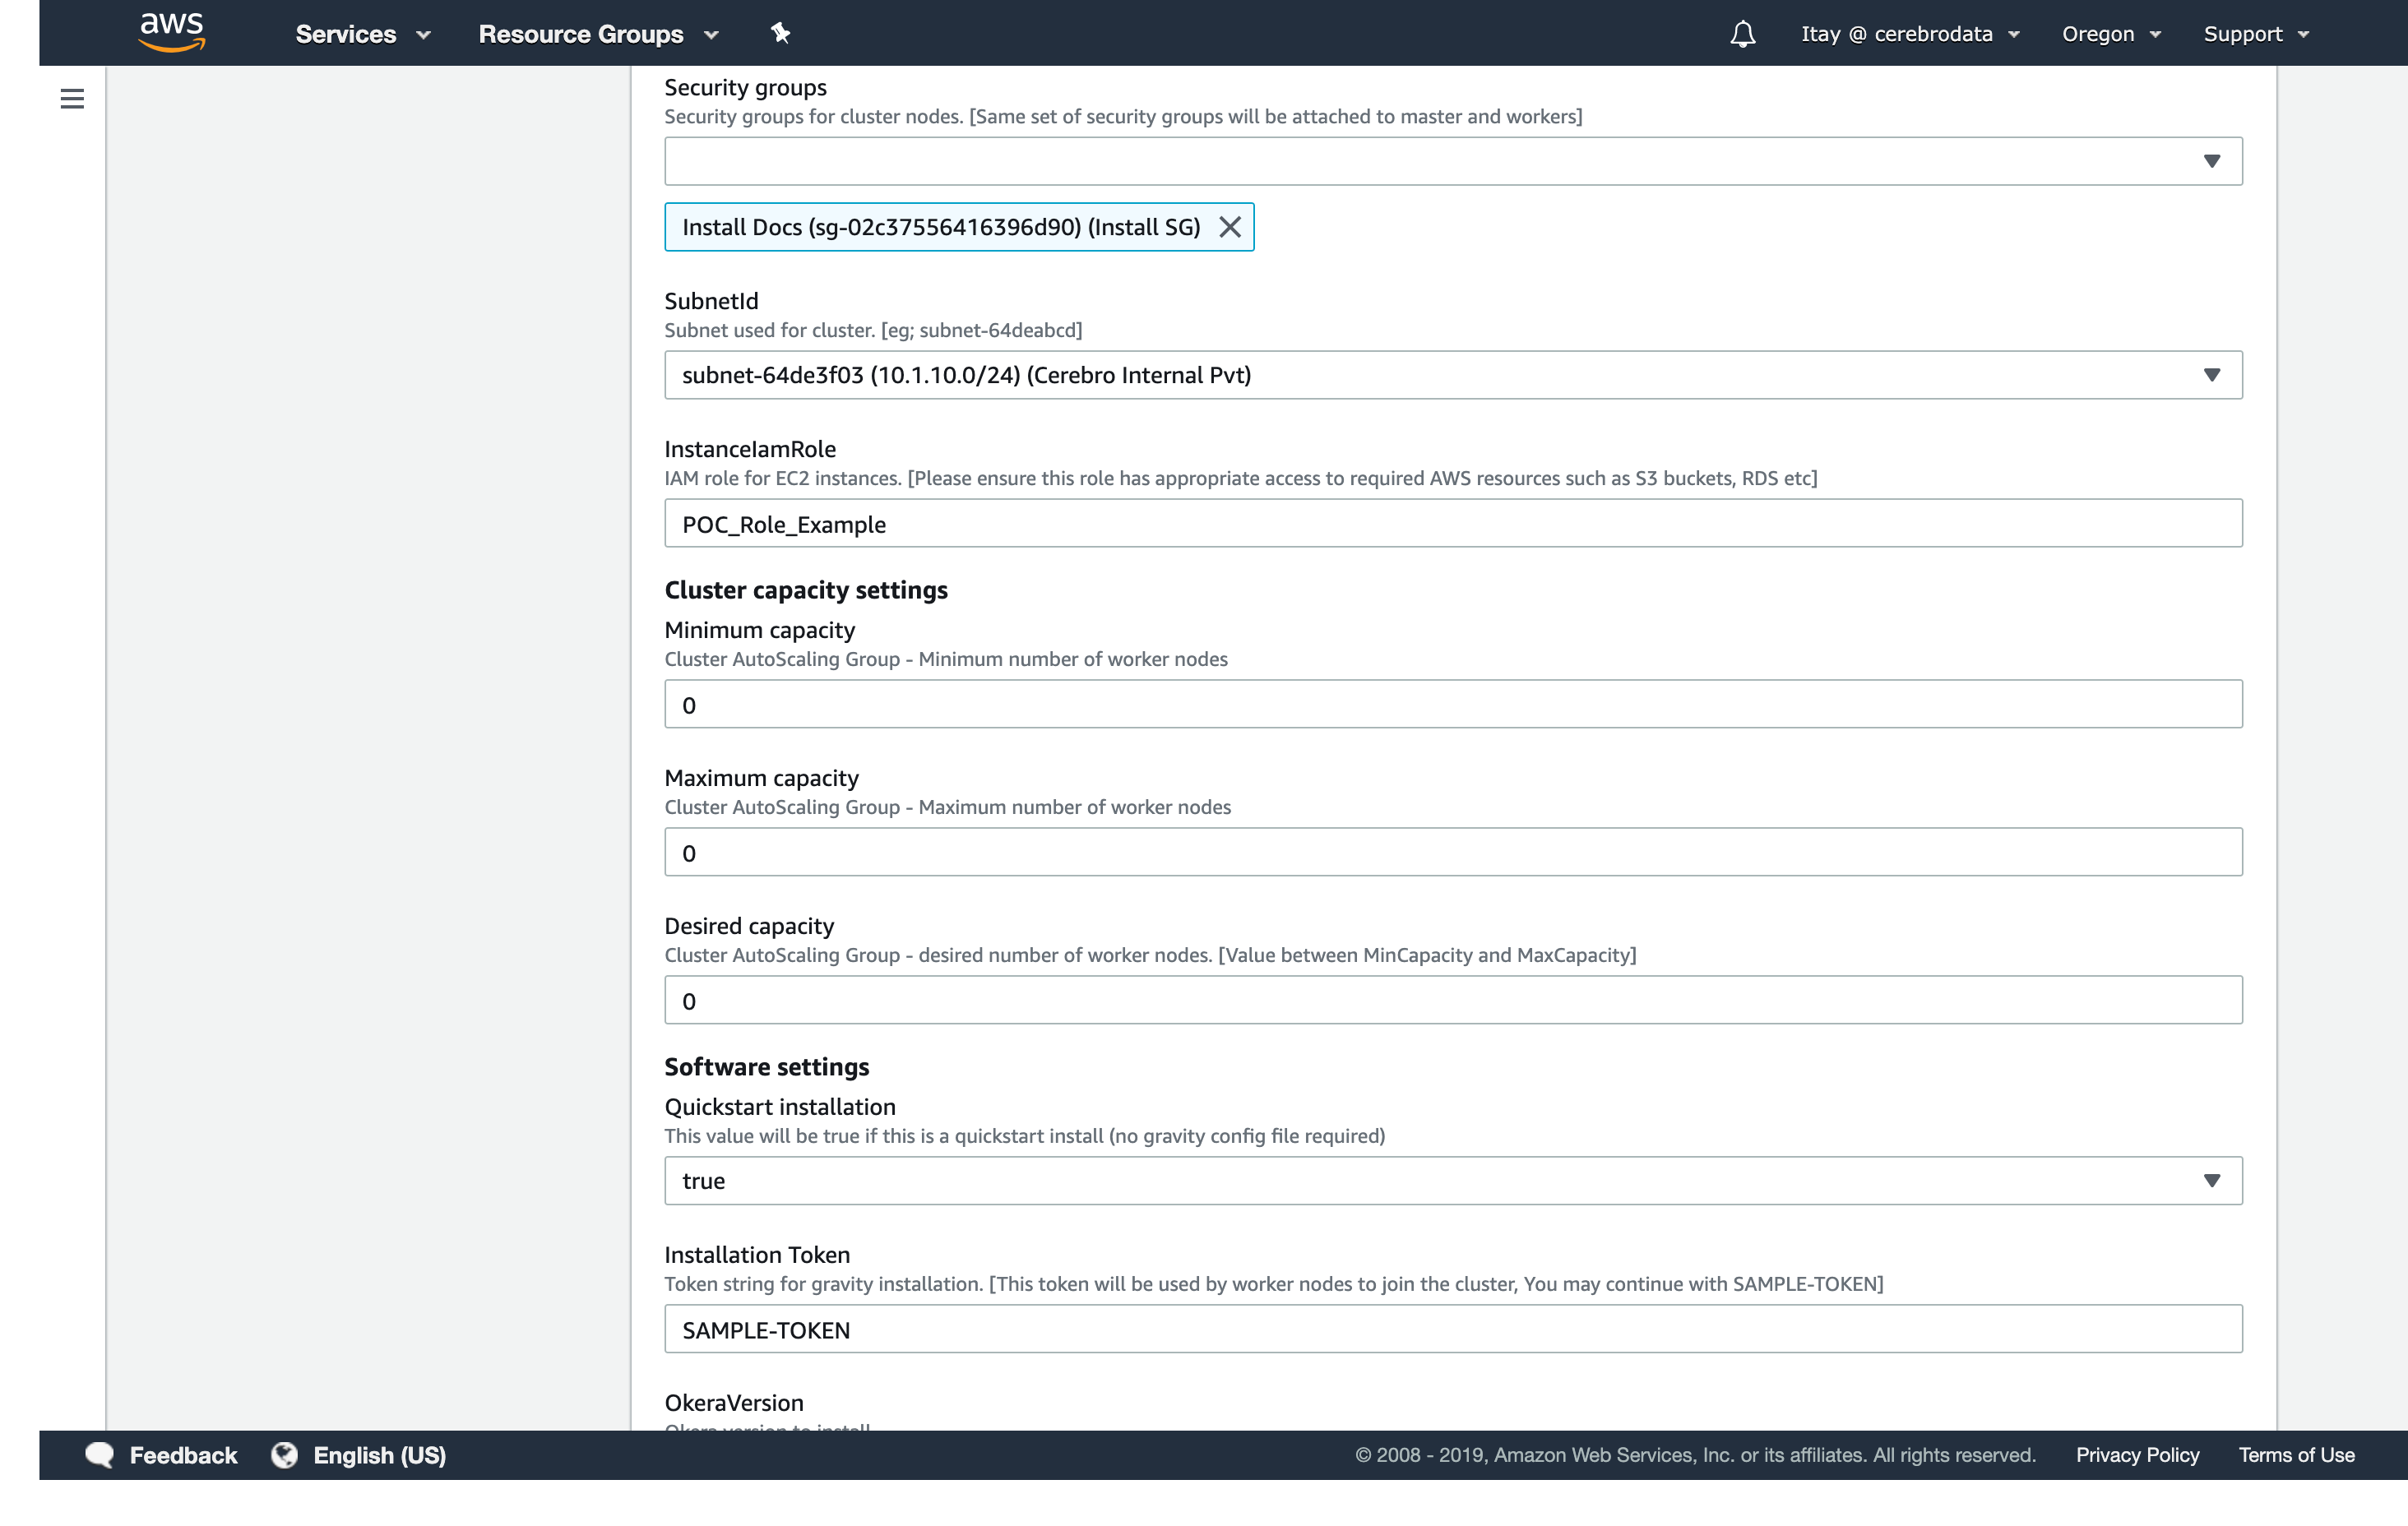
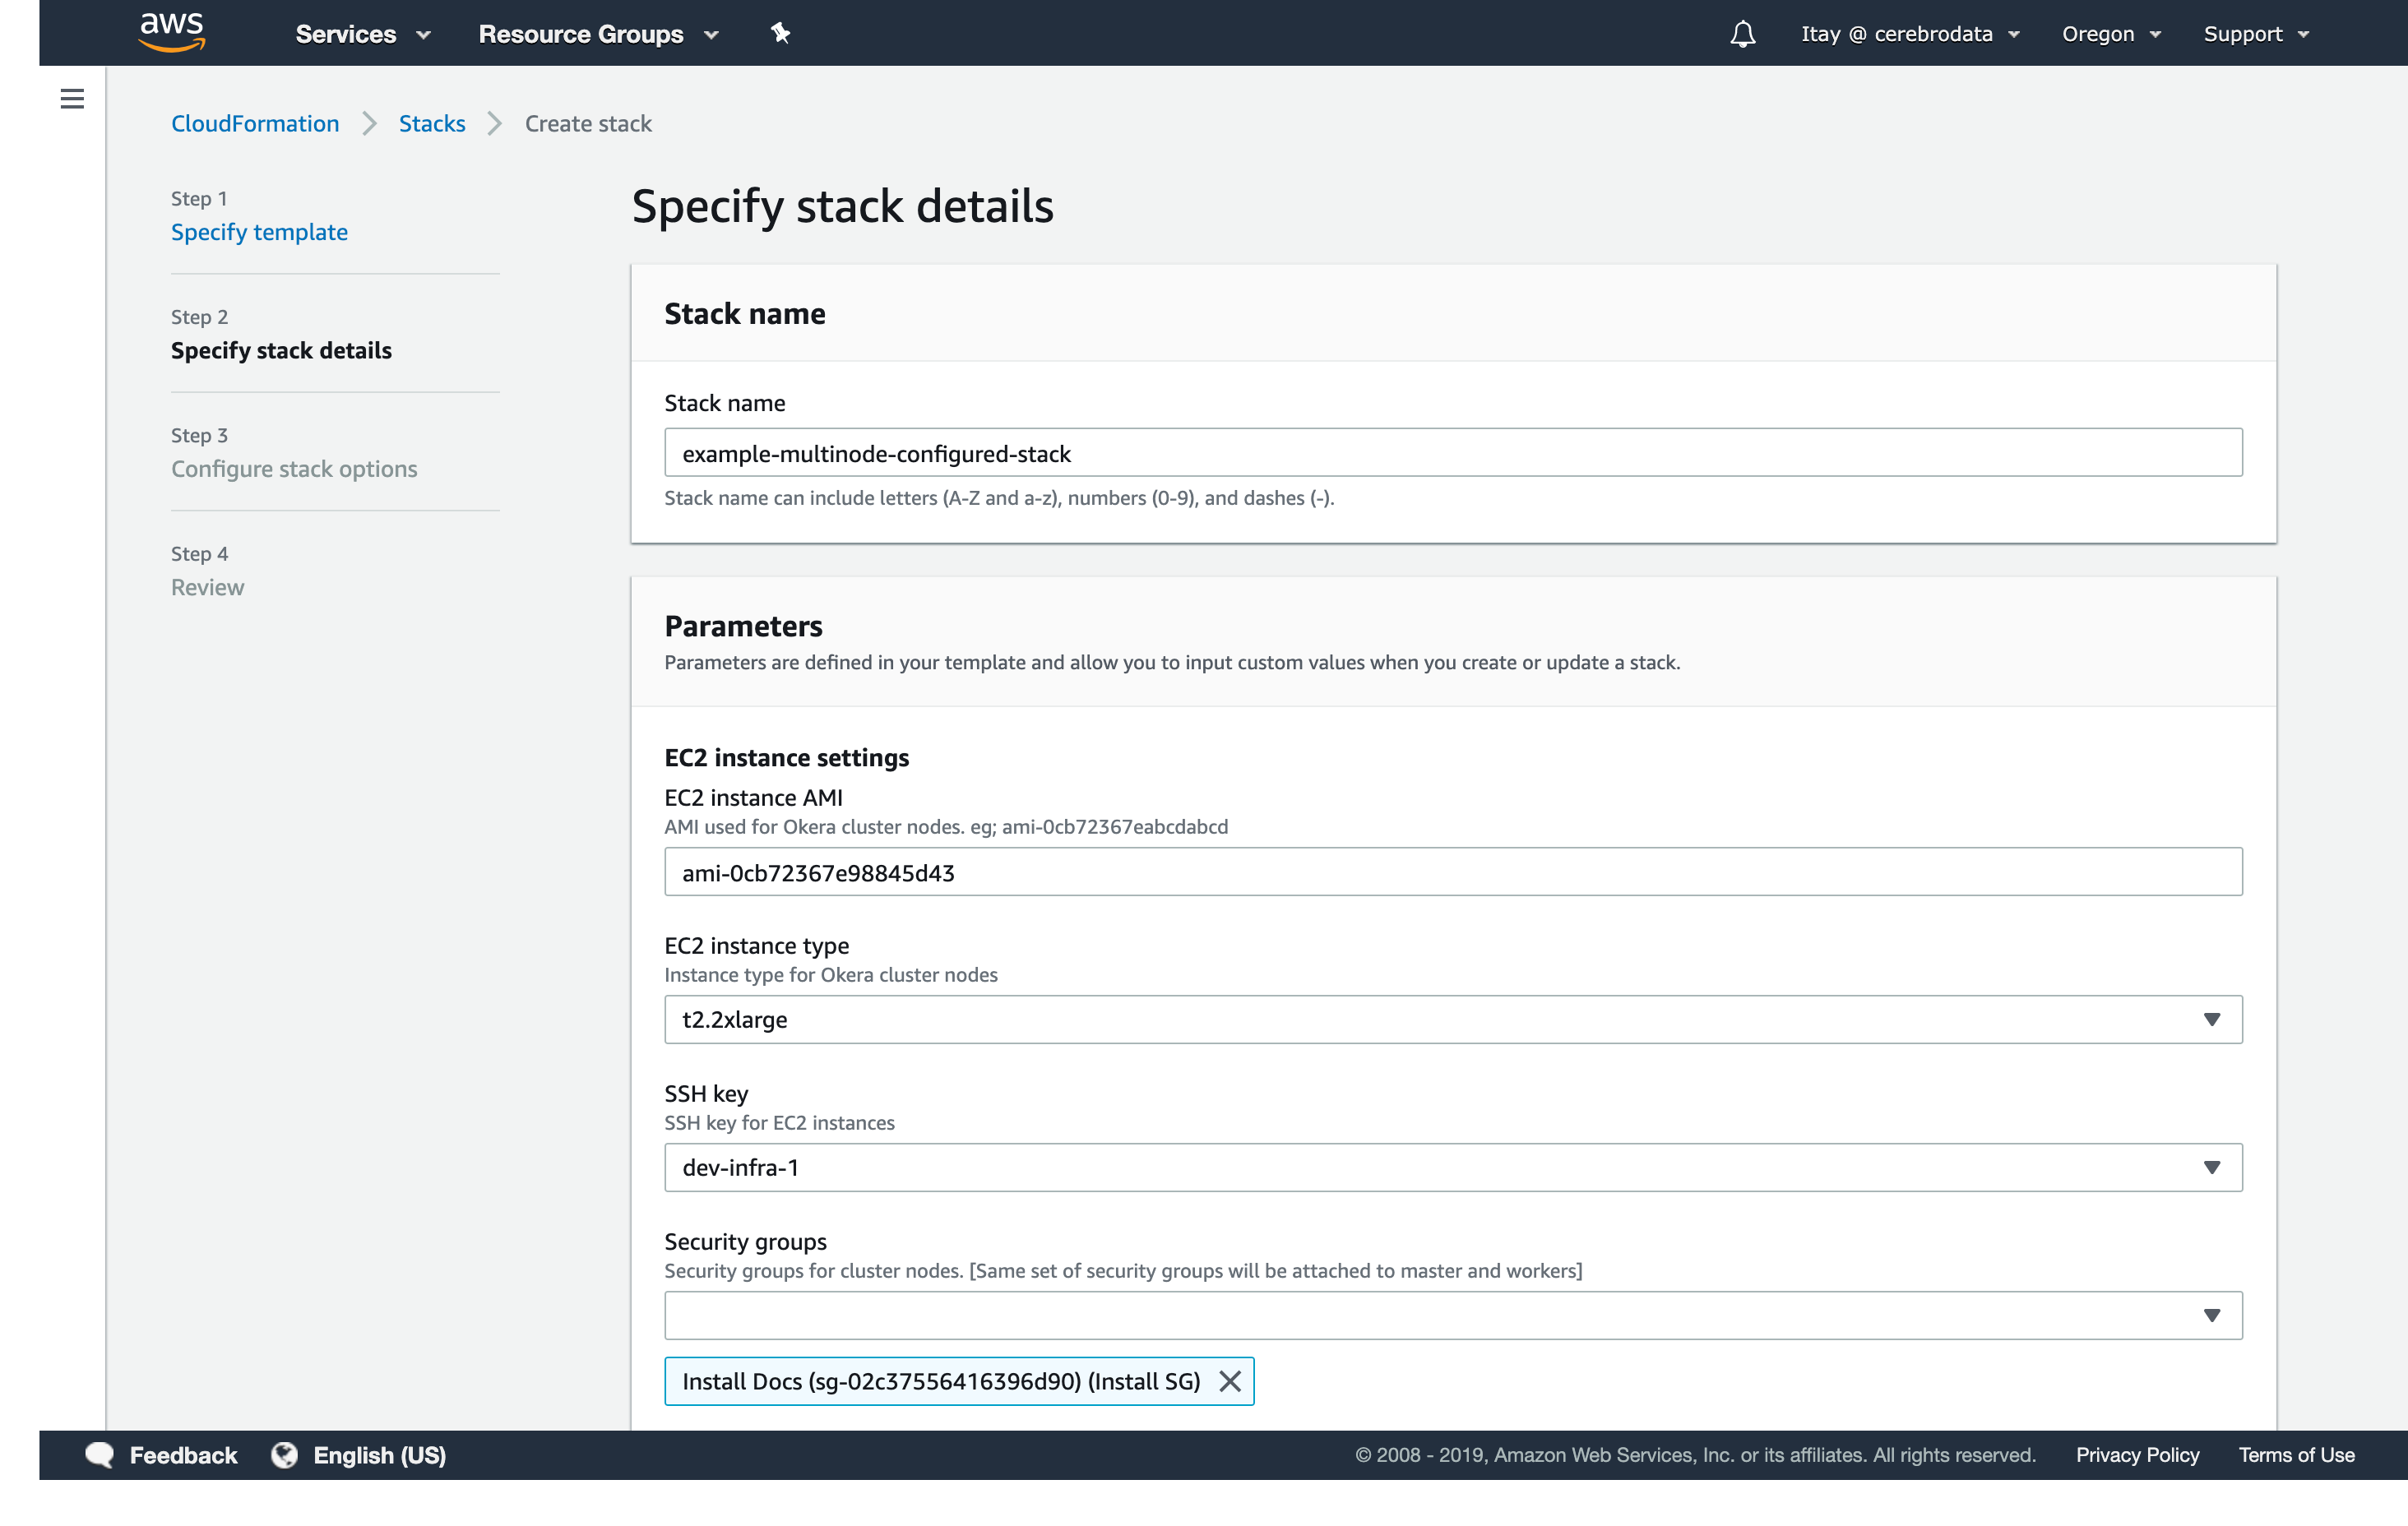
For this cluster, you will choose the Quickstart=true option, and put in the values for the security group and IAM role you created as part of the dependencies, as well as choosing the instance type and key pair that you wish to use.
You can leave the other values in their default state
Note: In a production environment, you'll want to use a cryptographically secure string for the
Tokenparameter).
Once you've entered all your parameters, create the stack - this will take about 10-20 minutes.
When it is done, you will want to note the MasterNode IP, and you can navigate to it at https://<MasterNode>:8083.
The default credentials are okera/okera.
You now have a self-contained single-node Okera cluster running.
It is leveraging a locally running database, as well as writing all log files to local disk.
You can use the sample data that comes pre-registered, or register new data using the Data Registration page or direct CREATE TABLE statements.
Note: Since this is a standalone cluster, it only persists (both metadata and logs) to the local system. While it will persist through restarts, if you delete this node you will lose what you have created. You can read below to see how to configure the persistence settings.
Provisioning A Configured Single-Node Cluster
Okera clusters use a YAML configuration file, which you can learn more about here.
If you have a configuration file we want to apply to your cluster, you can utilize it during the CloudFormation step.
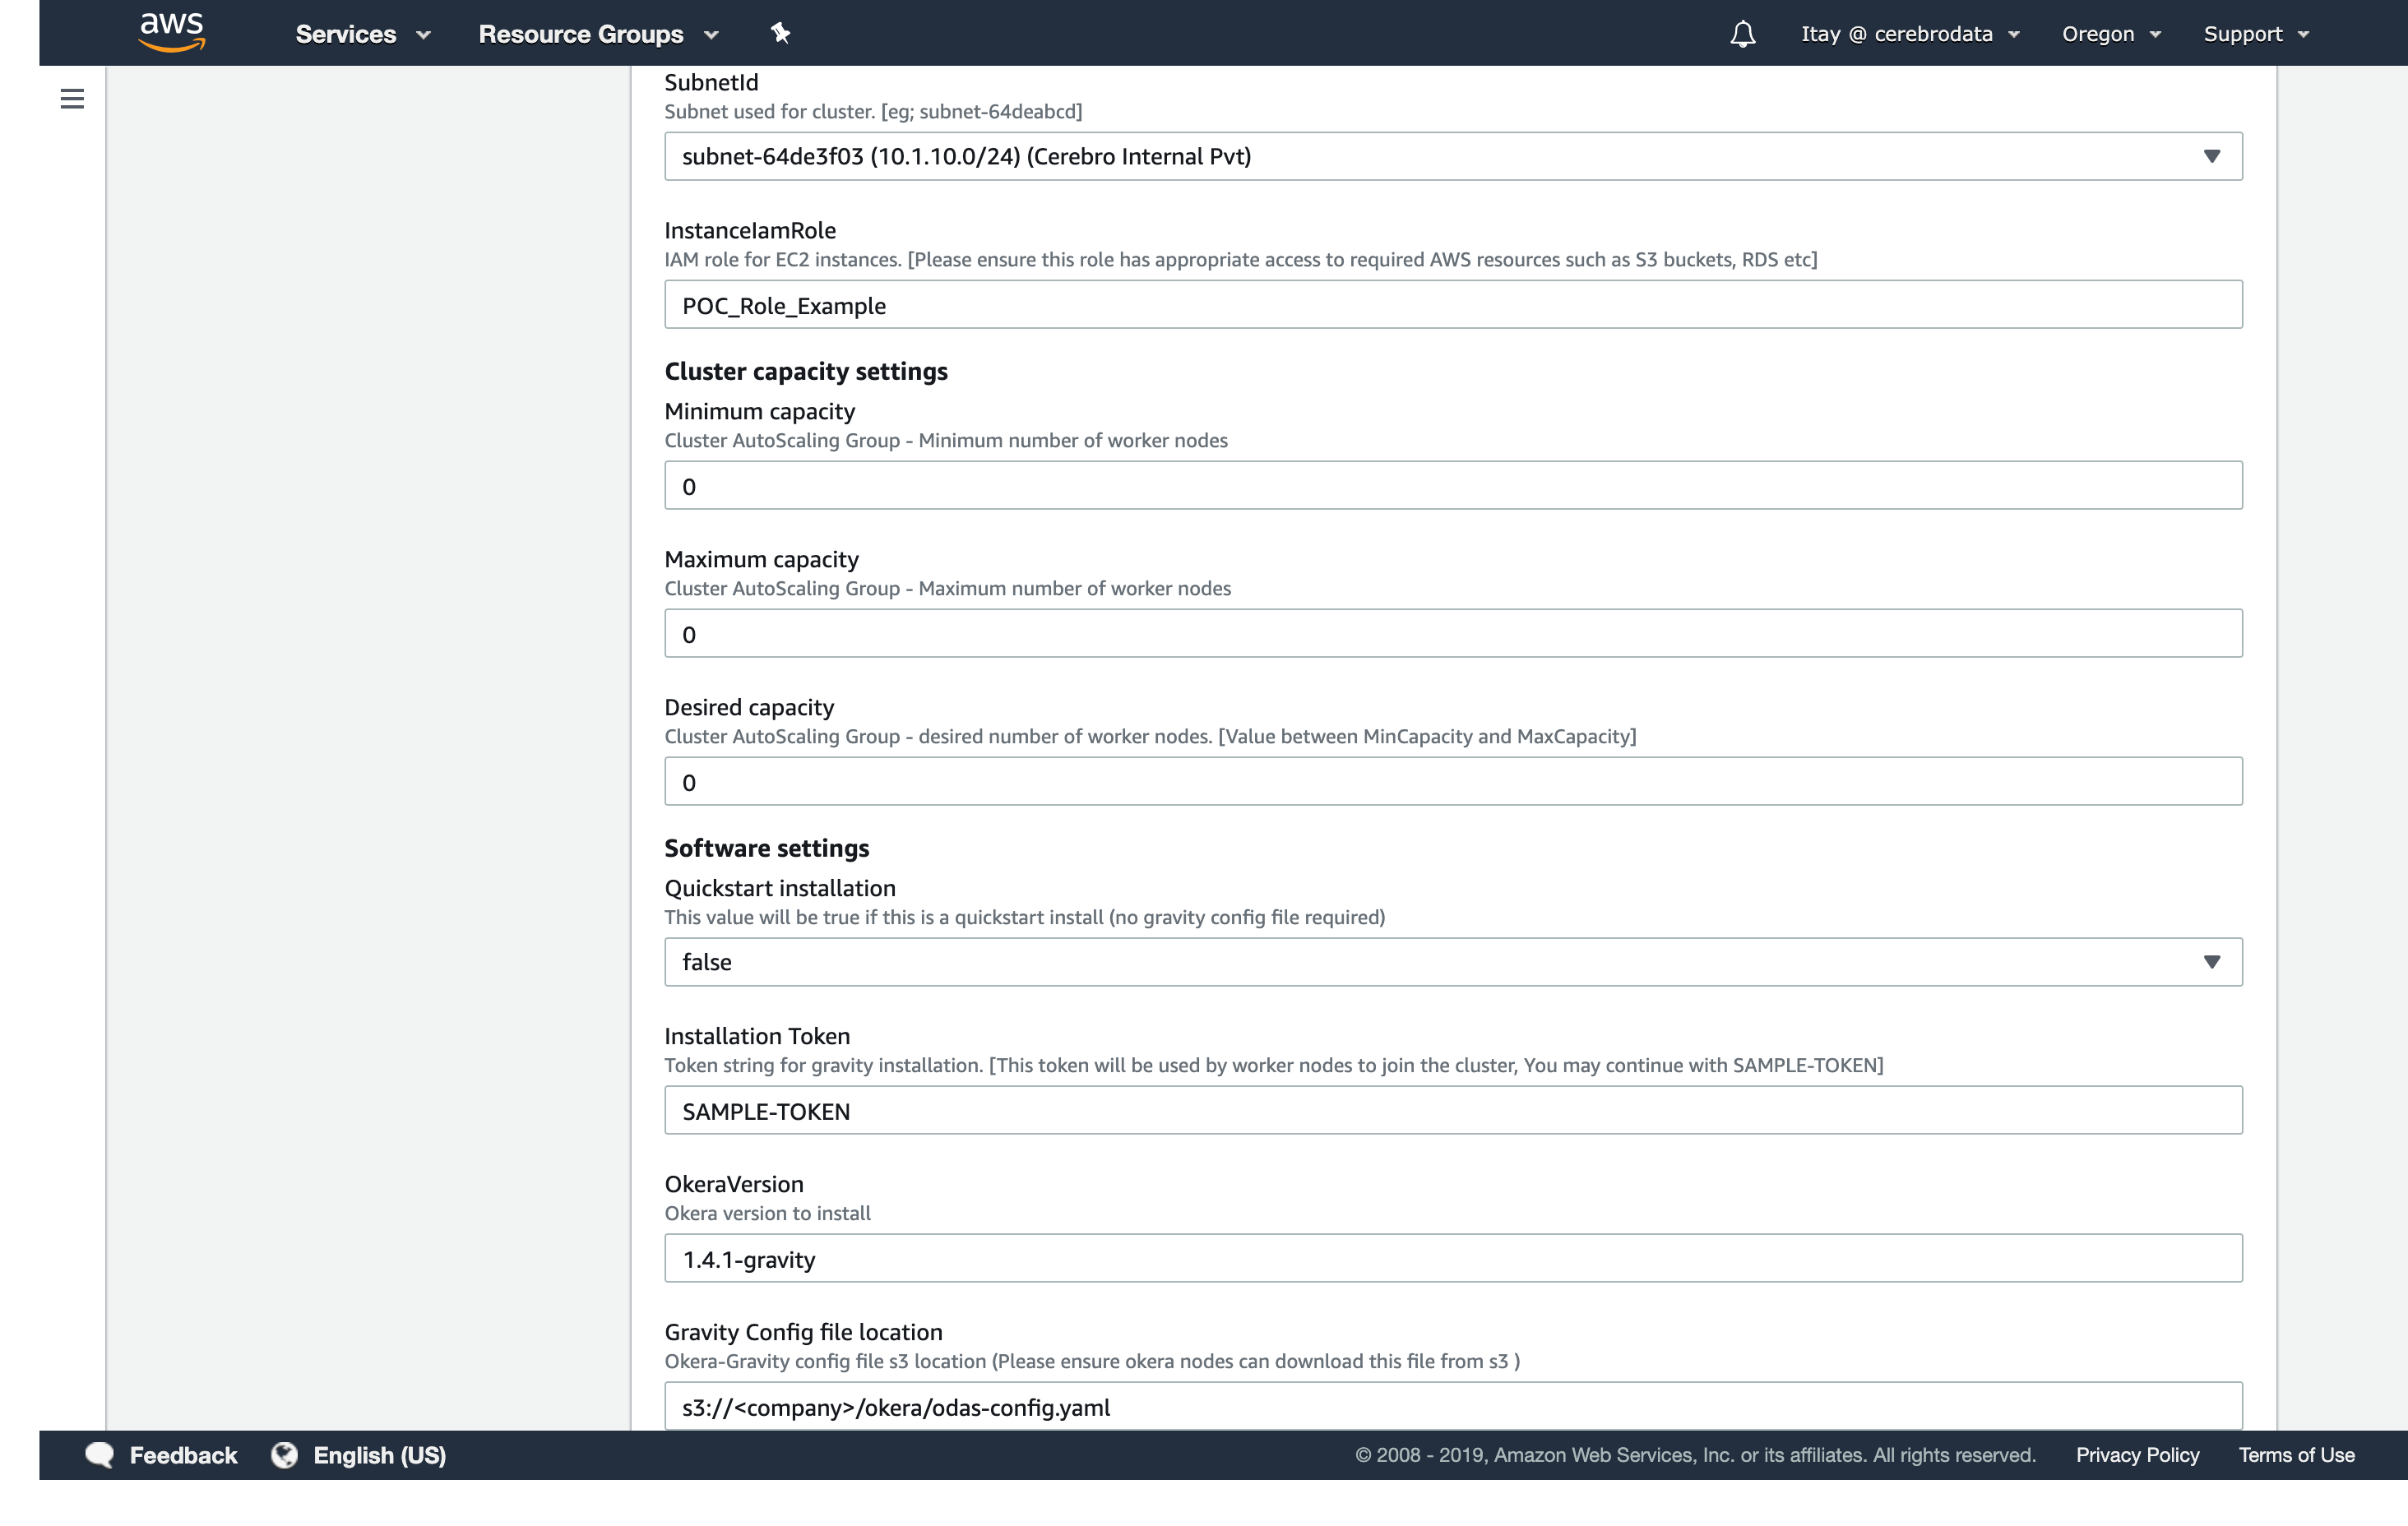
To do this, you should first upload the configuration file you created to Amazon S3, for example, s3://<company>/okera/okera-config.yaml.
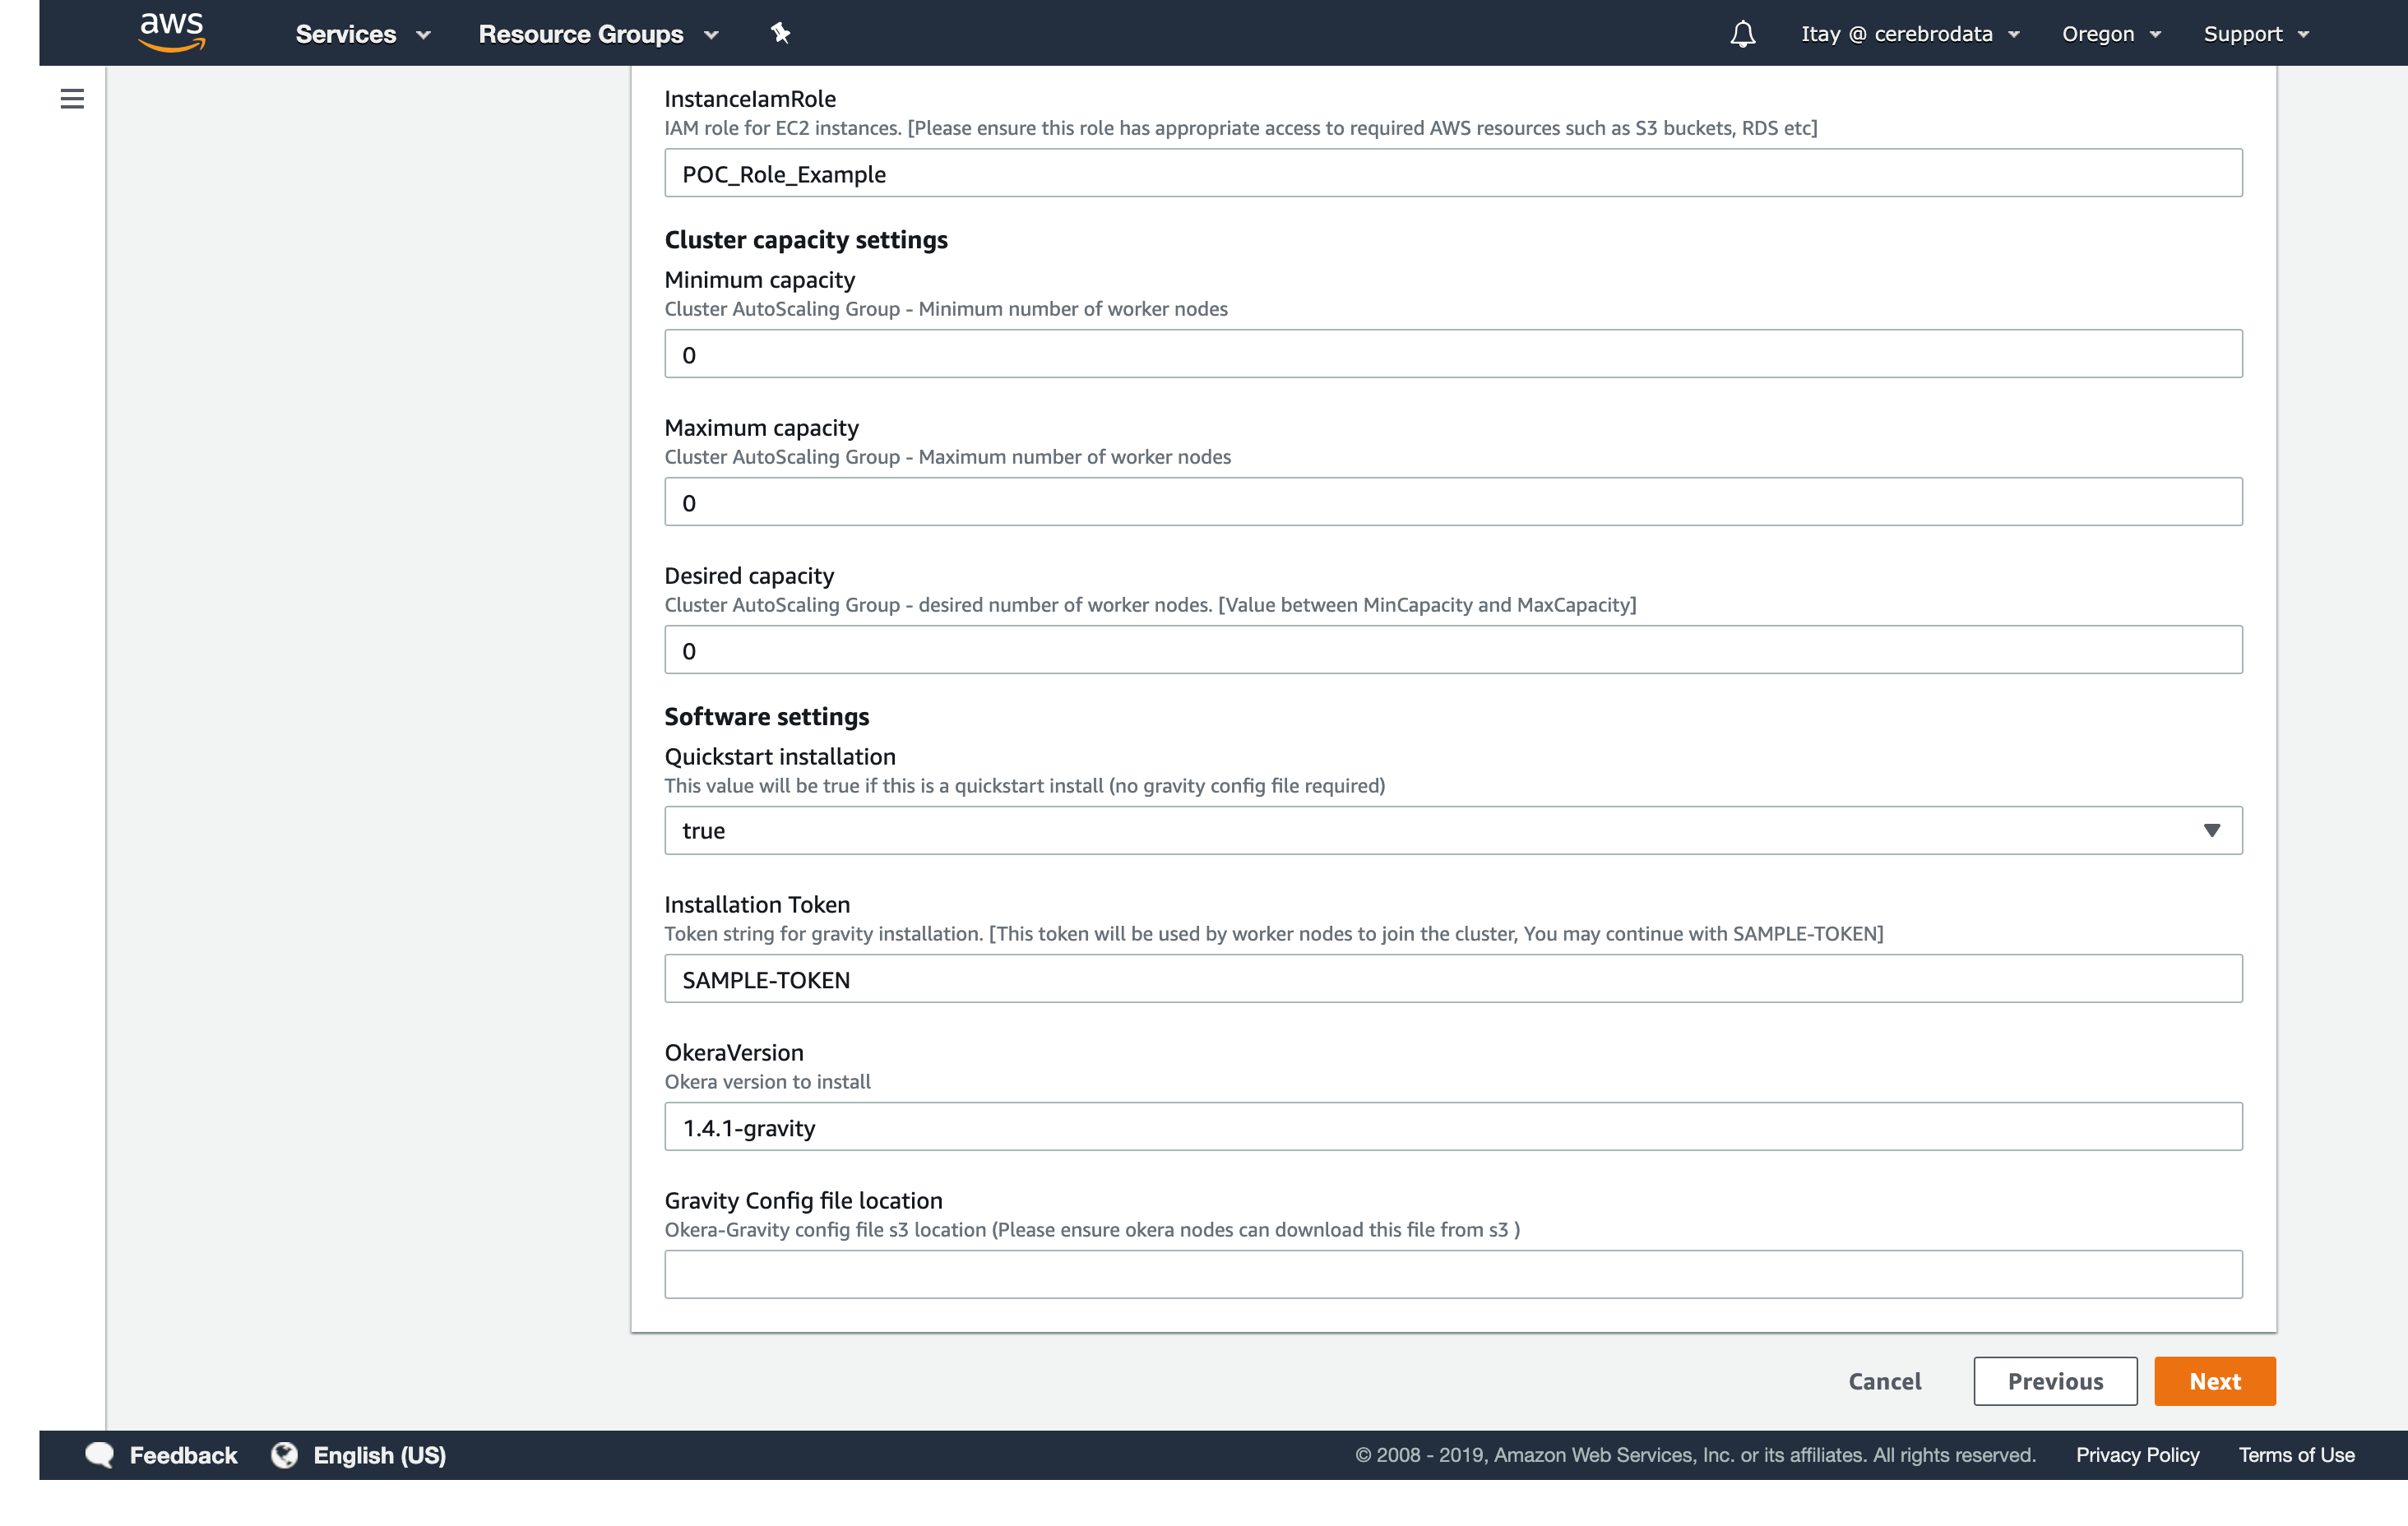
We will use the same template as above, but this time we will choose Quickstart=false option, and put in the Amazon S3 path of the configuration file in the GravityConfig option.
This will tell CloudFormation to apply that configuration file rather than the default quickstart one.

Once the stack is created, you can navigate to the UI (same steps as before) and it should be leveraging the configuration you specified.
Note: You can configure multiple independent Okera clusters leveraging the same underlying configuration (database, log locations, etc), so you can always provision multiple clusters using the same configuration file.
Provisioning a Configured Multi-Node Cluster
The steps for a multi-node cluster are identical to a single-node cluster, and will use the same CloudFormation template. We will leverage the parameters to configure our auto-scaling group:
- A minimum of 1 node.
- A maximum of 3.
- A desired count of 2.
For all the other parameters, we will use the same values as before.

Once created, you should be able to navigate to the Okera Portal UI and access your multi-node cluster.
Note: You can configure multiple independent Okera clusters leveraging the same underlying configuration (database, log locations, etc), so you can always provision multiple clusters using the same configuration file.
Note: Okera Portal insights will not function on a multi-node cluster unless you've configured Okera to upload audit logs to an Amazon S3 location.